6.10
<Faxing (Optional)>
3
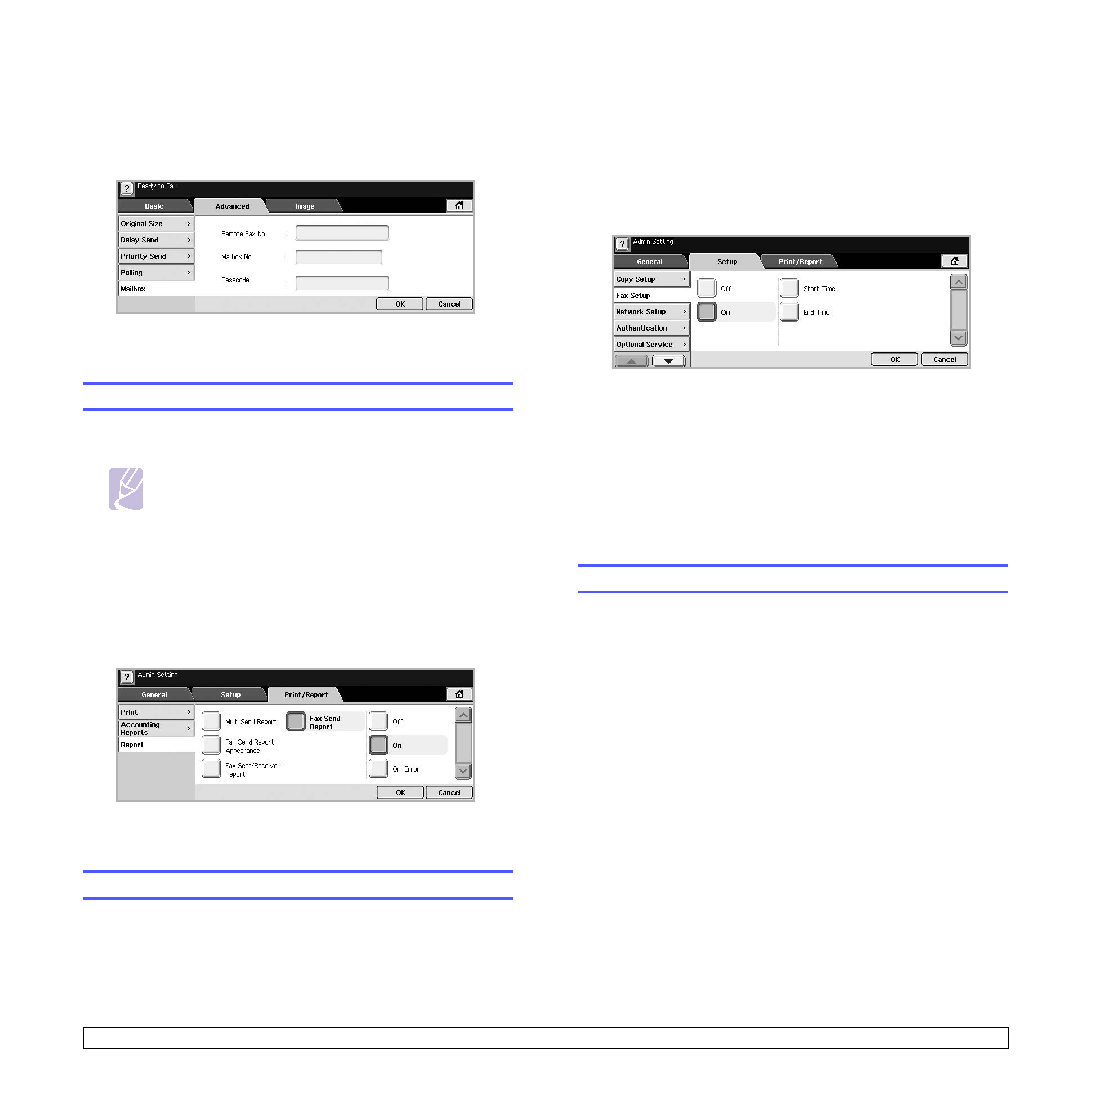
Adjust the document settings in the Image tab and the Basic tab.
4
Press the Advanced tab > Mailbox > Send to Remote.
5
Enter Remote Fax No, Mailbox No., and Passcode. All these field
are filled with information from the receiver.
6
Press OK.
Printing a report after sending a fax
You can set the machine to print a report whether a fax transmission is
successfully completed or not.
Note
The detailed information is available in advanced setup
part. (Page 9.7)
1
Press Machine Setup on the control panel.
2
Press Admin Setting. When the login message pops up, enter
password and press OK. (Page 3.3)
3
Press the Print/Report tab > Report > Fax Report > Fax Send
Report.
4
Press On.
5
Press OK.
Sending a fax in toll save time
You can set the machine to send a fax in toll save time to save a
telephone fee. If you send a fax after setting this feature, fax data will be
stored in machine's memory and the machine will start to send fax in toll
save time.
1
Press Machine Setup on the control panel.
2
Press Admin Setting. When the login message pops up, enter
password and press OK. (Page 3.3)
3
Press the Setup tab > Fax Setup.
4
Press down arrow on the right side.
5
Press Toll Save.
6
Press On.
7
Press Start Time and set the start date and time with left/right
arrows.
8
Press OK.
9
Press End Time and set the end date and time with left/right arrows.
10 Press OK.
11 Press OK.
Adding documents to a reserved delay fax job
You can add additional documents to the delayed fax job which is saved
in memory.
1
Press Machine Setup on the control panel.
2
Press Admin Setting. When the login message pops up, enter
password and press OK. (Page 3.3)
3
Press the Setup tab > Fax Setup.
4
Press down arrow on the right side.
5
Press Send Batch.
6
Press On.
7
Press OK.
• When you send a fax, if a fax number is same as the number in
delay fax, the machine asks whether you want to add more
documents to reserved delay fax.