45
44
CHAPTER 3
Setting up and connecting
3
3
CHAPTER 3
Setting up and connecting
3
3
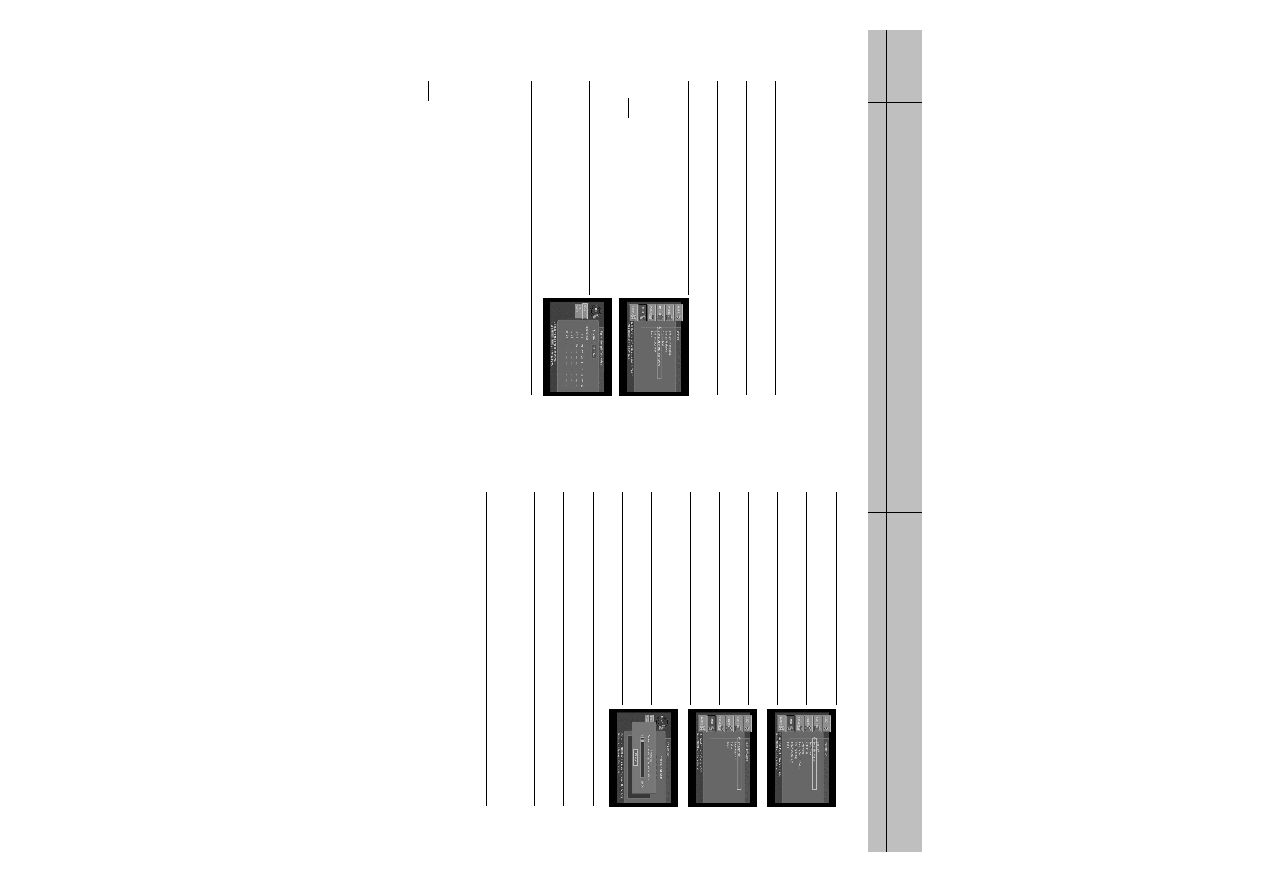
Testing the Signal Strength
The DIRECTV HD Receiver shall have a matrix that shows the signal strength of all
transponders per orbital position in one table. This matrix is in addition to showing the
signal strength of each active transponder individually in the system setup menu.
To start the Signal Strength test, follow these steps:
1
Press the MENU button on your remote control.
2
Highlight the Setup menu item, then press the SELECT button.
3
Highlight the System menu item, then press the SELECT button.
4
Highlight the Signal Strength Test Matrix item, then press
the SELECT button. The Signal Strength Test Matrix screen
appears. The test will begin as soon as the screen appears.
Results are displayed in a moment.
NOTE
Transponders that are inactive shall have “n/a” in place of a
signal strength number.
5
When you have finished the system test, you can run the test
again using the on-screen Test Again button, exit the Menu
system by pressing the EXIT button on your remote control,
or use the arrow keys to highlight on-screen BACK button,
then press the SELECT button to return to the System menu.
Setting up local networks
You can use your DIRECTV
®
HD Receiver to receive Guide information via satellite for
local off-air and cable TV channels. To use this feature, you must connect your DIRECTV
®
HD Receiver to a satellite dish as described earlier in this chapter, and you must set up the
Local Networks option in the menu system.
NOTE
If you do not connect your DIRECTV
®
HD Receiver to a satellite dish and subscribe to
DIRECTV
®
programming, you can still add local channels to the Guide by following the instructions
in the next section.
To set up the Local Networks menu option:
1
Press the MENU button on your remote control.
2
Highlight Setup, and press the SELECT button.
3
Highlight Installation, and press the SELECT button.
4
Highlight Local Networks, and press the SELECT button.
5
Highlight Primary Air, and press the SELECT button.
6
Highlight the first box in the ZIP code area, then use the
number buttons on your remote control to enter your ZIP code.
After a while, a list of cities appears below your ZIP code.
7
Highlight the name of the city from which your local channels
are broadcast, and press the SELECT button.
8
Highlight the on-screen BACK button, and press the SELECT
button. You return to the Local Networks screen.
9
(Optional) If you receive off-air broadcasts from a second city, highlight Secondary Air, and
press the SELECT button. Repeat steps 6 - 8 for the second city.
10
(Optional) If you receive programming from a cable TV service, highlight Cable, and press
the SELECT button. Repeat steps 6 - 8 for the cable service.
11
When you have finished entering your local broadcast and cable TV information, press the
EXIT button on your remote control. The DIRECTV
®
HD Receiver will reboot (turn itself off
and then back on). After rebooting, the DIRECTV
®
HD Receiver will acquire and provide
Guide information for your local off-air and cable TV channels.
SIR-TS360-CHAPTER 3 12/15/03 11:56 AM Page 44