Manual page
press the SELECT button.
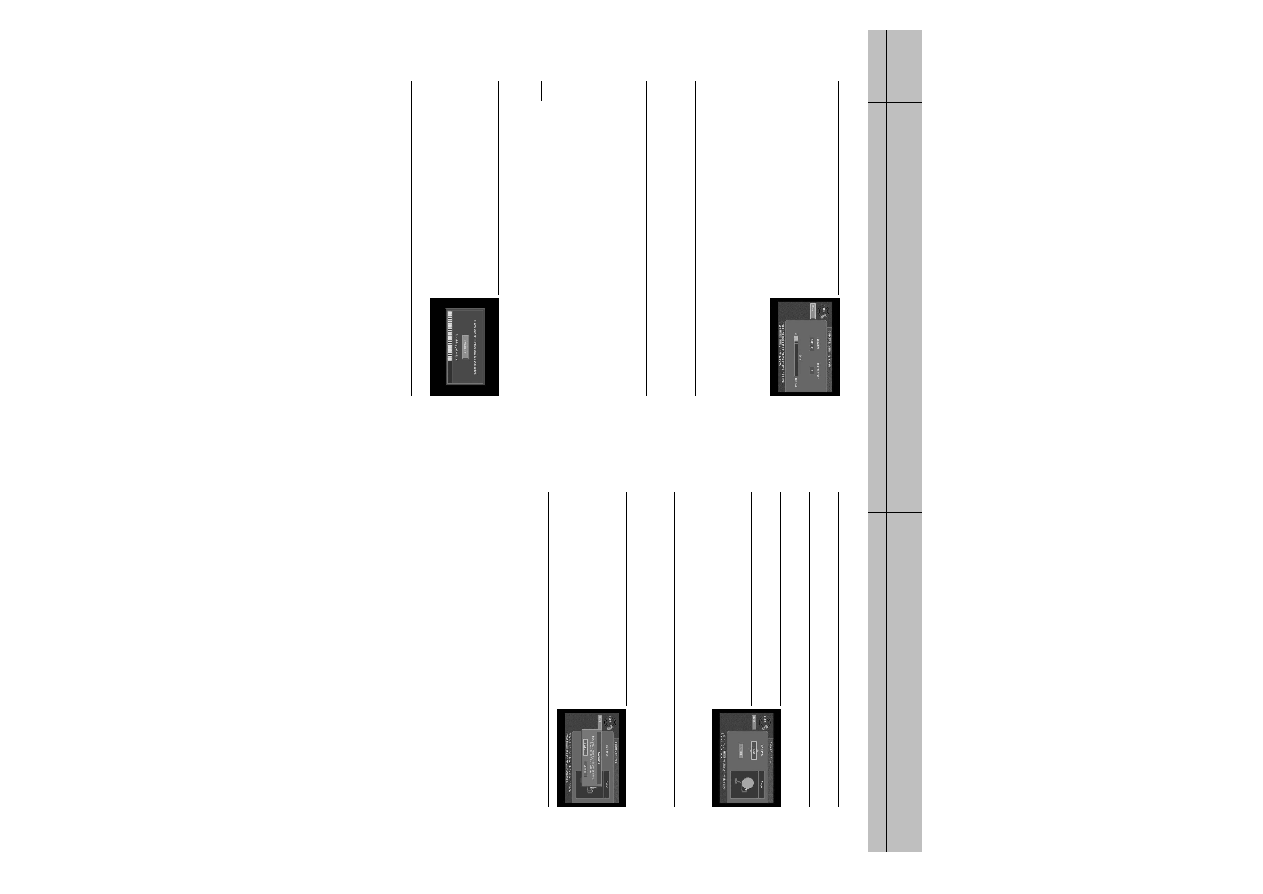
The DIRECTV Satellite Signal Meter screen appears.
The signal meter starts checking the satellite signal strength
immediately. The signal strength (from 0-to-100%) is indicated
at the bottom of the screen. The DIRECTV Satellite Signal
Meter screen allows you to check signal strengths from
different Satellites, and different Transponders. The Satellites
option applies only to oval-shaped satellite dishes which receive signals from multiple satellites.
On round dishes, the Satellite setting is fixed. Transponders are the equipment on satellites that
receive the signal from the earth-based program providers and relay it back to earth to your
satellite dish. Different transponders handle the signals for different TV channels.
When setting up your satellite dish, you should try to maximize the signal strength across all
of the satellites and transponders.
use the left- and right-arrow buttons on your remote control to highlight the on-screen Satellite
The signal meter updates to show you the signal strength for the new satellite or transponder.
You can specify the dish type using the instructions here, or you can follow the steps on
page 33 to use the Auto Detection menu item to automatically set the dish type.
select Installation by pressing the SELECT button.
If this screen is not displayed, access the Main Menu
by pressing the MENU button on your remote control.
Then use the arrow buttons on your remote control to
highlight the Setup menu, and press the SELECT button.
Then highlight the Installation menu, and press the
SELECT button. The Installation menu appears.
the Dish Type option on the Select Dish Type screen.
to display the dish type you are using (Round, Oval-2, Oval-3,
or No Dish). As you display each dish type, the on-screen
pictures update showing you what each of these dish types
look like. If you plan to use your DIRECTV
DIRECTV
button, then press the SELECT button.
on-screen SELECT button, then press the SELECT button.
To leave the Dish Type setting unchanged, highlight the
on-screen Cancel button, and press the SELECT button.
on-screen Guide.