Manual page
2
.1
<System setup>
2
System setup
This chapter provides step by step information on setting up your printer.
This chapter includes:
•
•
•
•
•
•
Using control panel menus
A number of menus are available to make it easy for you to change the
printer settings. The diagram on the next column shows the menus and
all of the menu items available in each menu. The items in each menu
and the options you can select are described in more detail in the tables
beginning on page 2.2.
Accessing control panel menus
You can control your printer from the printer’s control panel. You can also
set the control panel menus while the printer is in use.
1
Press
Menu
until the menu you want appears on the bottom line of
the display and press
OK
.
2
Press the
scroll
buttons until the desired menu item appears and
press
OK
.
3
If the menu item has sub menus, repeat step 2.
4
Press the
scroll
buttons to access the desired setting option or the
required value.
5
Press
OK
to save your selection.
An asterisk (
*
) appears next to the selection on the display,
indicating that it is now the default.
6
Press
Stop
to return to Standby mode.
After 60 seconds of inactivity (no key being pressed), the printer
automatically returns to Standby mode.
Note
Print settings made from the printer driver on a connected
computer override the settings on the control panel.
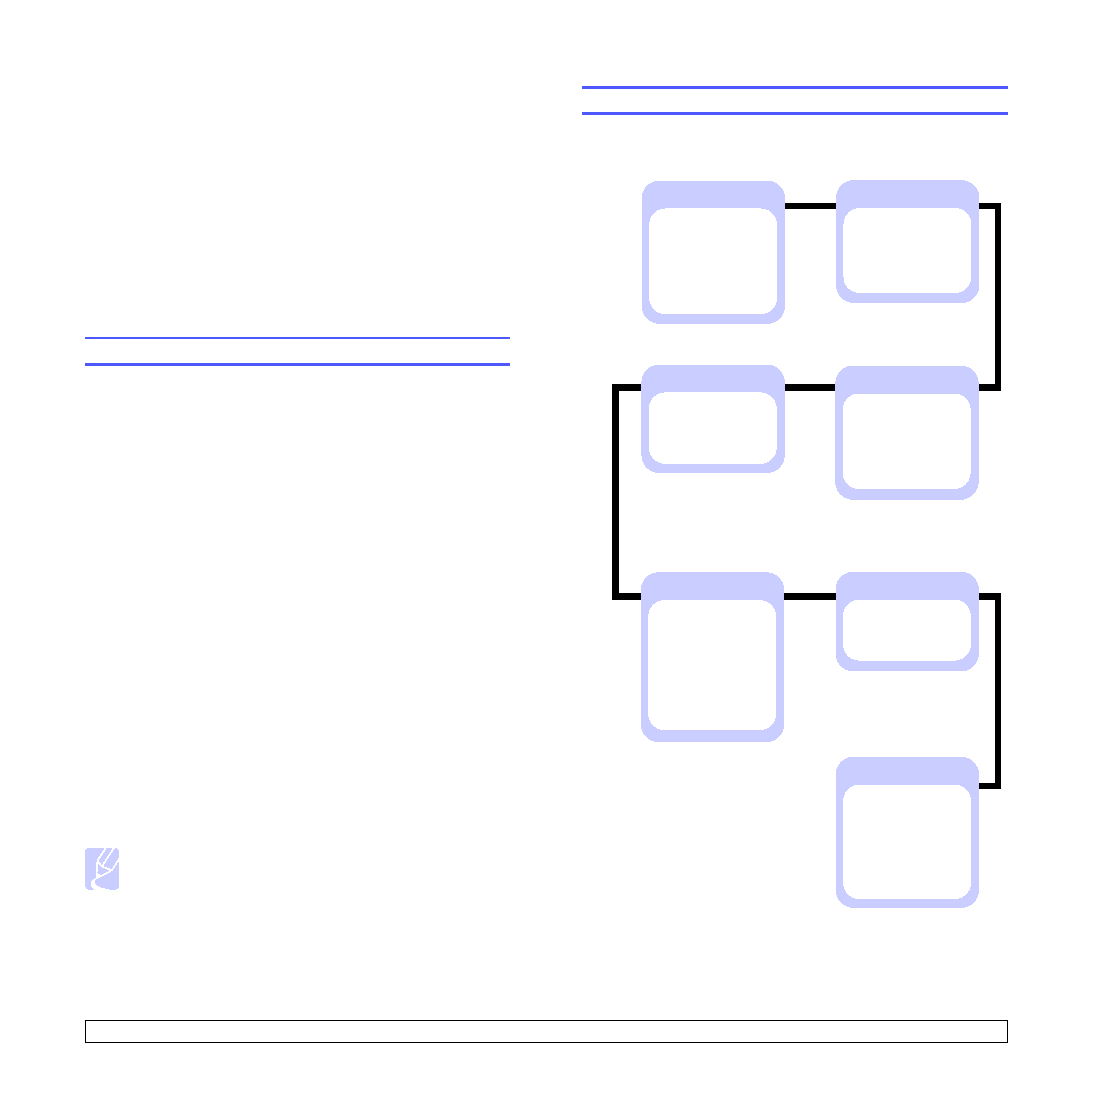
Menu overview
The control panel menus are used to configure the printer. The control
panel provides access to the following menus:
a. Available with optional wireless network interface.
Information
Menu Map
Configuration
Demo Page
PCL Font List
PS3 Font List
EPSON Font
Layout
Orientation
Simplex Margin
Duplex
Duplex Margin
Emulation
Emulation Type
Setup
Paper
Copies
Paper Size
Paper Type
Paper Source
Tray Chaining
System Setup
Language
Power Save
Auto Continue
Altitude Adj.
Auto CR
Job Timeout
Maintenance
Clear Setting
Graphic
Resolution
Darkness
Image Enhance
Network
TCP/IP
EtherTalk
Ethernet Speed
Wireless
a
Clear Setting
Network Info.