Manual page
hazardous emissions when subjected to the printer’s
approximately 383°F (195°C) fusing temperature for 0.1
seconds.
floor.
trouble-free printing. Do not remove the paper tray while a job
is printing. Doing so may cause a paper jam. See “Sizes and
Capacities” on page 4.1 for acceptable paper size and
capacities for each tray.
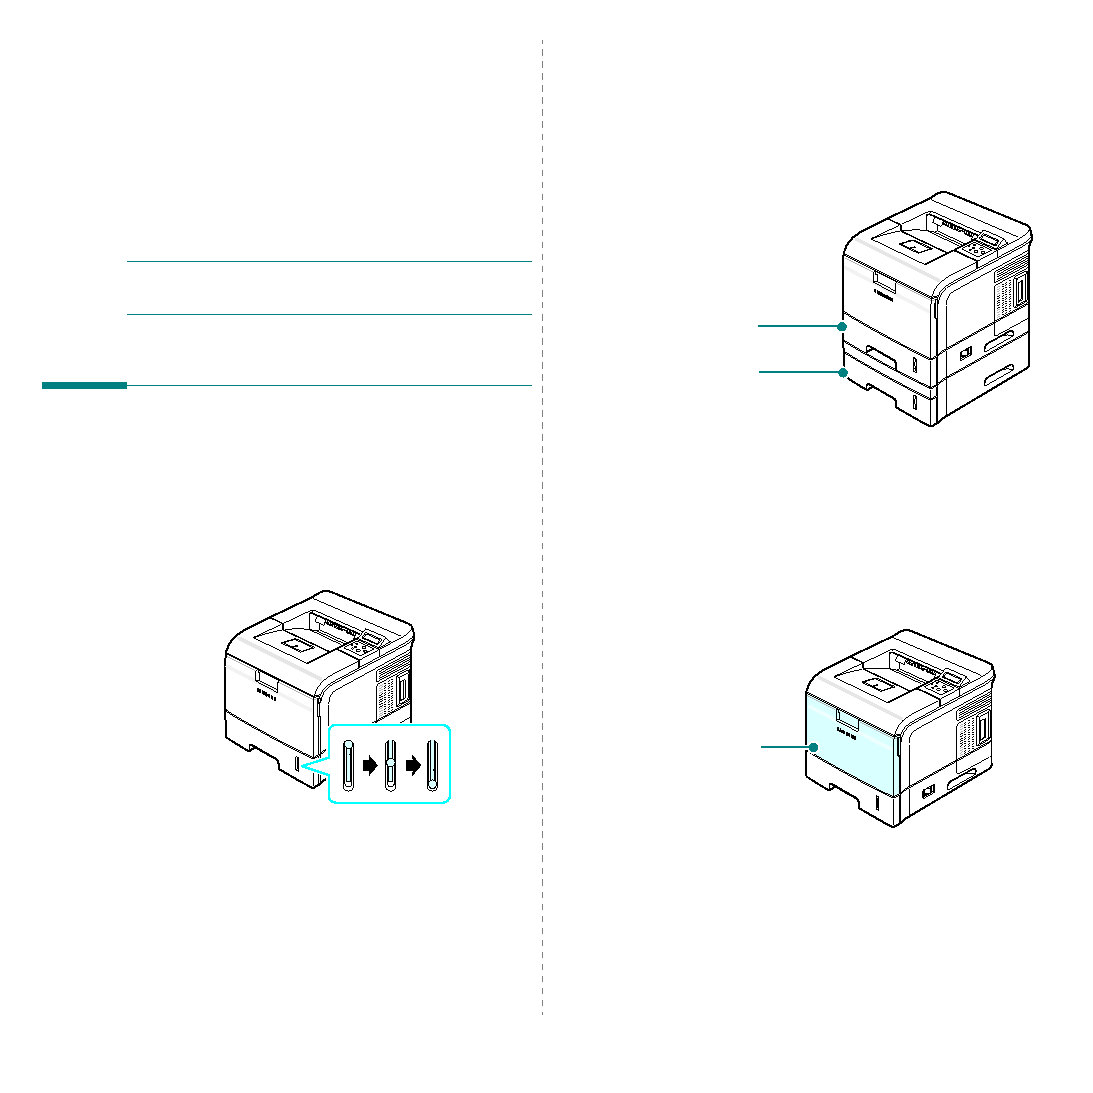
The paper level indicator on the front of the paper tray shows
the amount of paper currently left in the tray. When the tray is
empty, the indicator of the bar is completely lowered.
jobs in the Tray 1. The Tray 1 can hold a maximum of 500
sheets of 20lb paper.
You can purchase an optional Tray 2 and attach it below the
Tray 1 to load an additional 500 sheets of paper. See page 9.7
for more information about installing the optional Tray 2.
print side down. For details about loading paper in the Tray 1 or
optional Tray 2, see “Loading Paper” on page 2.4.
can be closed when not in use, making the printer more
compact.
material, such as transparencies, cards, and envelopes. You
may also want to use the Multi-Purpose Tray for single page
print jobs on letterheads, colored paper for use as separator
sheets, or other special materials that you do not normally keep
in the tray. You can load approximately 100 sheets of plain
paper, 10 envelopes, 50 transparencies, 10 card stocks, or 25
labels at a time.
• Load only one size of print material at a time in the