Using Your Printer in Linux
33
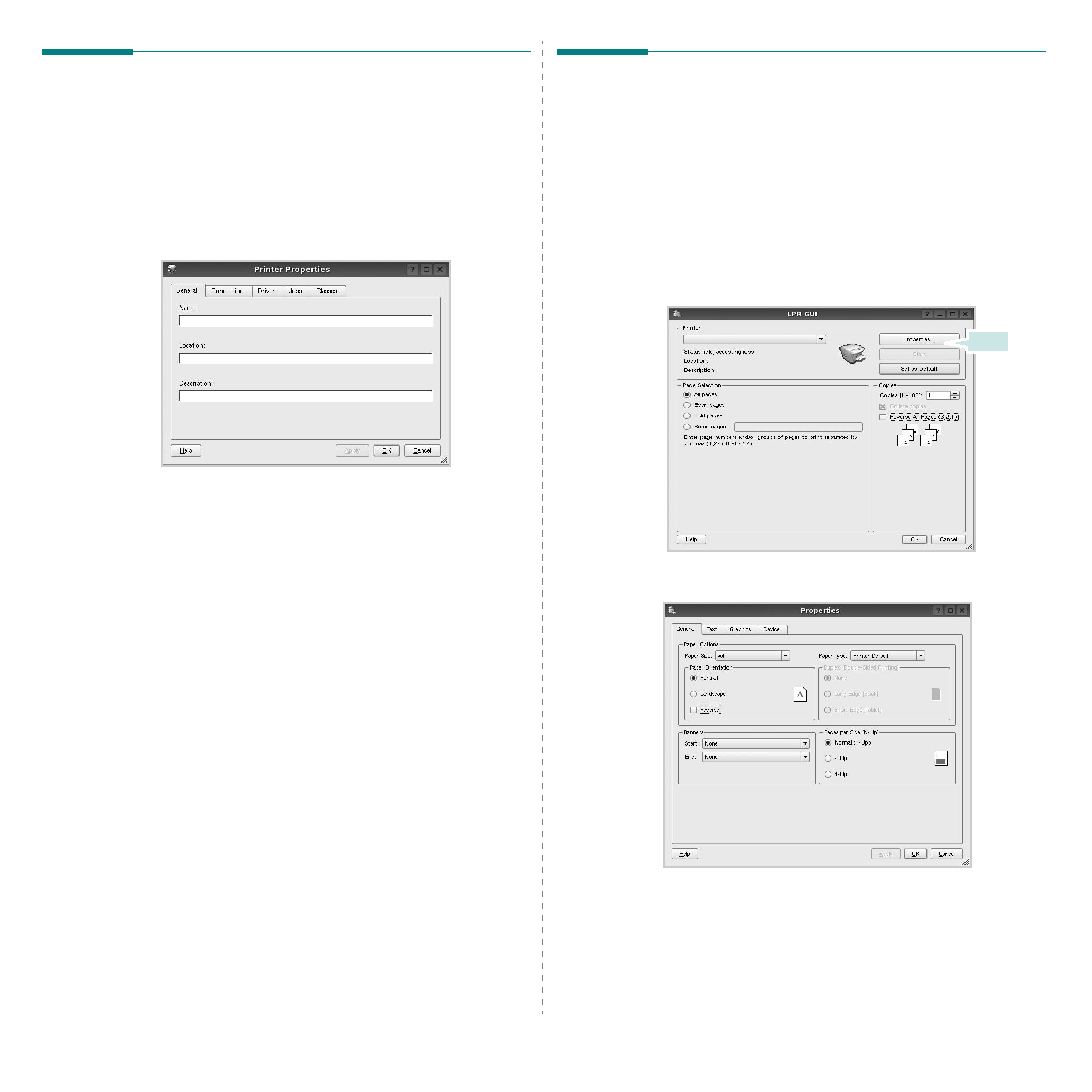
Configuring Printer Properties
Using the properties window provided by the Printers
configuration, you can change the various properties for your
machine as a printer.
1
Open the Unified Driver Configurator.
If necessary, switch to Printers configuration.
2
Select your machine on the available printers list and click
Properties.
3
The Printer Properties window opens.
The following five tabs display at the top of the window:
• General: allows you to change the printer location and
name. The name entered in this tab displays on the
printer list in Printers configuration.
• Connection: allows you to view or select another port.
If you change the printer port from USB to parallel or
vice versa while in use, you must re-configure the
printer port in this tab.
• Driver: allows you to view or select another printer
driver. By clicking Options, you can set the default
device options.
• Jobs: shows the list of print jobs. Click Cancel job to
cancel the selected job and select the Show completed
jobs check box to see previous jobs on the job list.
• Classes: shows the class that your printer is in. Click
Add to Class to add your printer to a specific class or
click Remove from Class to remove the printer from
the selected class.
4
Click OK to apply the changes and close the Printer
Properties Window.
Printing a Document
Printing from Applications
There are a lot of Linux applications that you are allowed to
print from using Common UNIX Printing System (CUPS). You
can print on your machine from any such application.
1
From the application you are using, select Print from the
File menu.
2
Select Print directly using lpr.
3
In the LPR GUI window, select the model name of your
machine from the Printer list and click Properties.
4
Change the printer and print job properties.
Click.