English-24
Setting up the TV with your PC
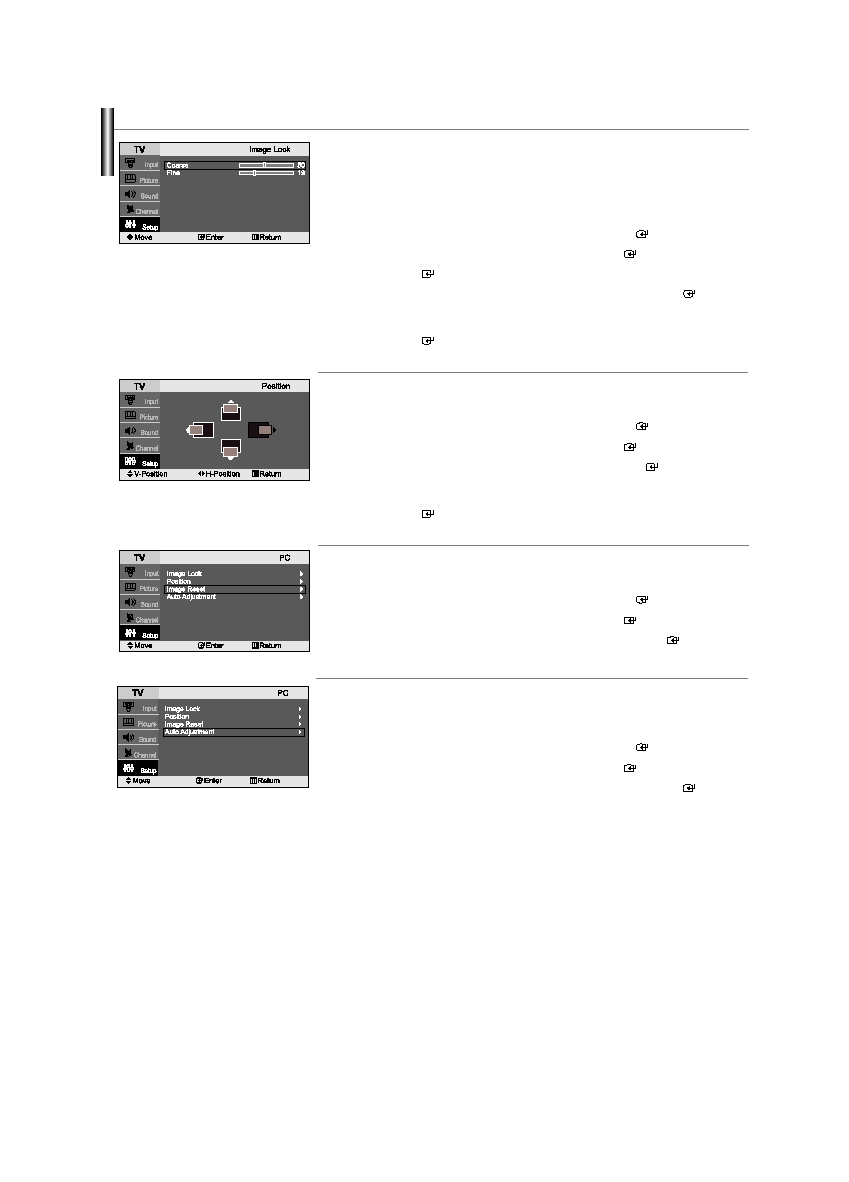
Image Lock:
The purpose of picture quality adjustment is to remove or reduce picture noise.
If the noise is not removed by Fine-tuning alone, then adjust the frequency as best as possible (coarse)
and Fine-tune again.
After the noise has been reduced, re-adjust the picture so that it is aligned on the center of screen.
1.
Press the MENU button to display the menu.
Press the
or
button to select “Setup”, then press the ENTER
button.
2.
Press the
or
button to select “PC”, then press the ENTER
button.
3.
Press the ENTER
button to select “Image Lock”.
4.
Press the
or
button to select “Coarse” or “Fine”, then press the ENTER
button.
5.
Press the
or
button to adjust the screen quality, vertical stripes may appear or the
picture may be blurry.
Press the ENTER
button.
6.
Press the EXIT button to exit.
Position:
Adjust the PC’s screen positioning if it does not fit the TV screen.
1.
Press the MENU button to display the menu.
Press the
or
button to select “Setup”, then press the ENTER
button.
2.
Press the
or
button to select “PC”, then press the ENTER
button.
3.
Press the
or
button to select “Position”, then press the ENTER
button.
4.
Press the
or
button to adjust the V-Position (Vertical-Position).
Press the
or
button to adjust the H-Position (Horizontal-Position).
Press the ENTER
button.
5.
Press the EXIT button to exit.
Image Reset:
You can replace all image settings with the factory default values.
1.
Press the MENU button to display the menu.
Press the
or
button to select “Setup”, then press the ENTER
button.
2.
Press the
or
button to select “PC”, then press the ENTER
button.
3.
Press the
or
button to select “Image Reset”, then press the ENTER
button.
4.
Press the EXIT button to exit.
Auto Adjustment:
Auto adjustment allows you to set the TV to self-adjust to the incoming PC video signal.
The fine, coarse and position values are adjusted automatically.
1.
Press the MENU button to display the menu.
Press the
or
button to select “Setup”, then press the ENTER
button.
2.
Press the
or
button to select “PC”, then press the ENTER
button.
3.
Press the
or
button to select “Auto Adjustment”, then press the ENTER
button.
4.
Press the EXIT button to exit.
BN68-01001C-X0Eng.qxd 3/16/06 1:31 AM Page 24